How to try outfits with one reference photo
Trendzy LookUpdated Nov 11, 20263 min read
A practical workflow: upload a garment flat lay, pick a reference look, and generate an on-model listing image without booking a full shoot.
On this page(6 sections)
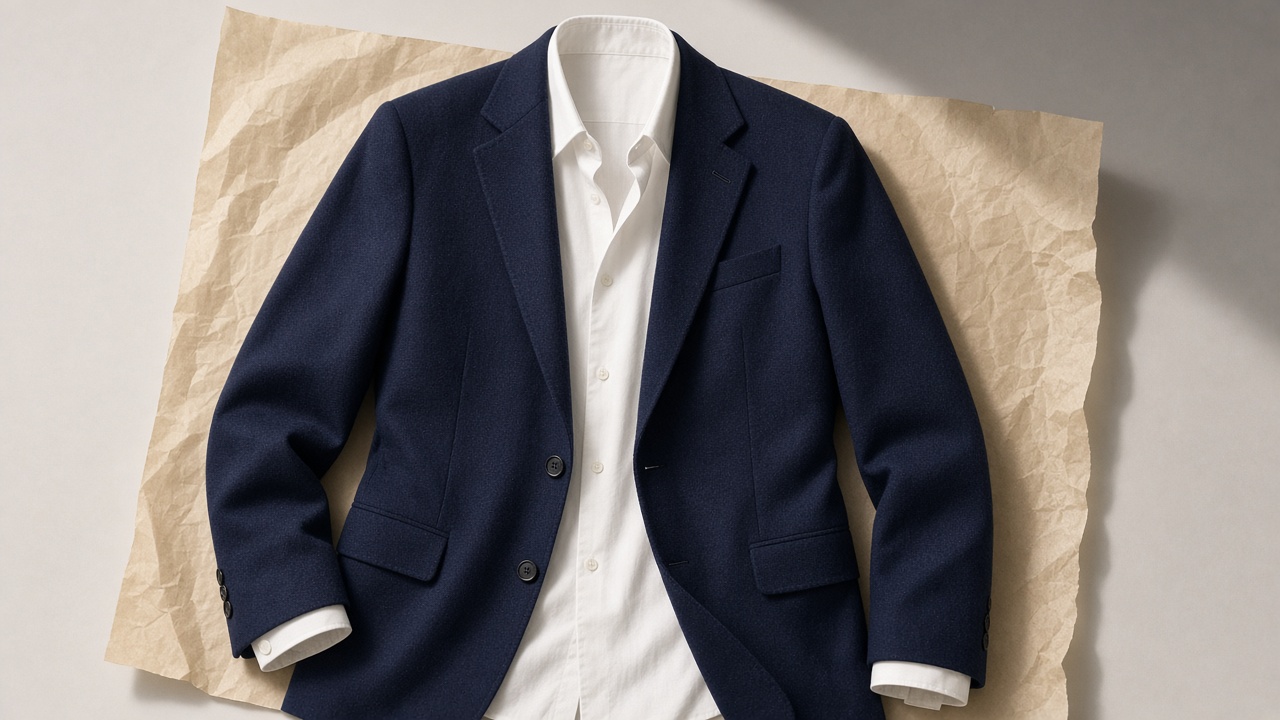
Use this guide when you need on-model visuals faster than a traditional shoot—without inventing the garment from scratch.
Open the studioIf your catalog grows faster than shoot days, you do not need a hundred vague “AI fashion” tips. You need a repeatable path from a real garment photo to a usable on-model image.
This guide walks through Trendzy Look’s reference-photo workflow: what to shoot, how to choose a reference, how to review outputs, and where this method beats (or should not replace) a full production.
What you need before you generate
A clear garment photo — flat lay or ghost mannequin works best
Even lighting so fabric color reads accurately
A reference look with a similar crop and pose intent
A decision on where the image will live (PDP, ads, marketplace)
Step-by-step workflow
Upload the garment image and confirm the silhouette looks complete in frame.
Choose a reference look that matches the story you want (pose, crop, energy).
Generate, then review for garment fidelity—not just “pretty photo” vibes.
Export the strongest frame and use it where that channel expects on-model assets.
Visual walkthrough
From flat lay → reference → listing image
Step 1
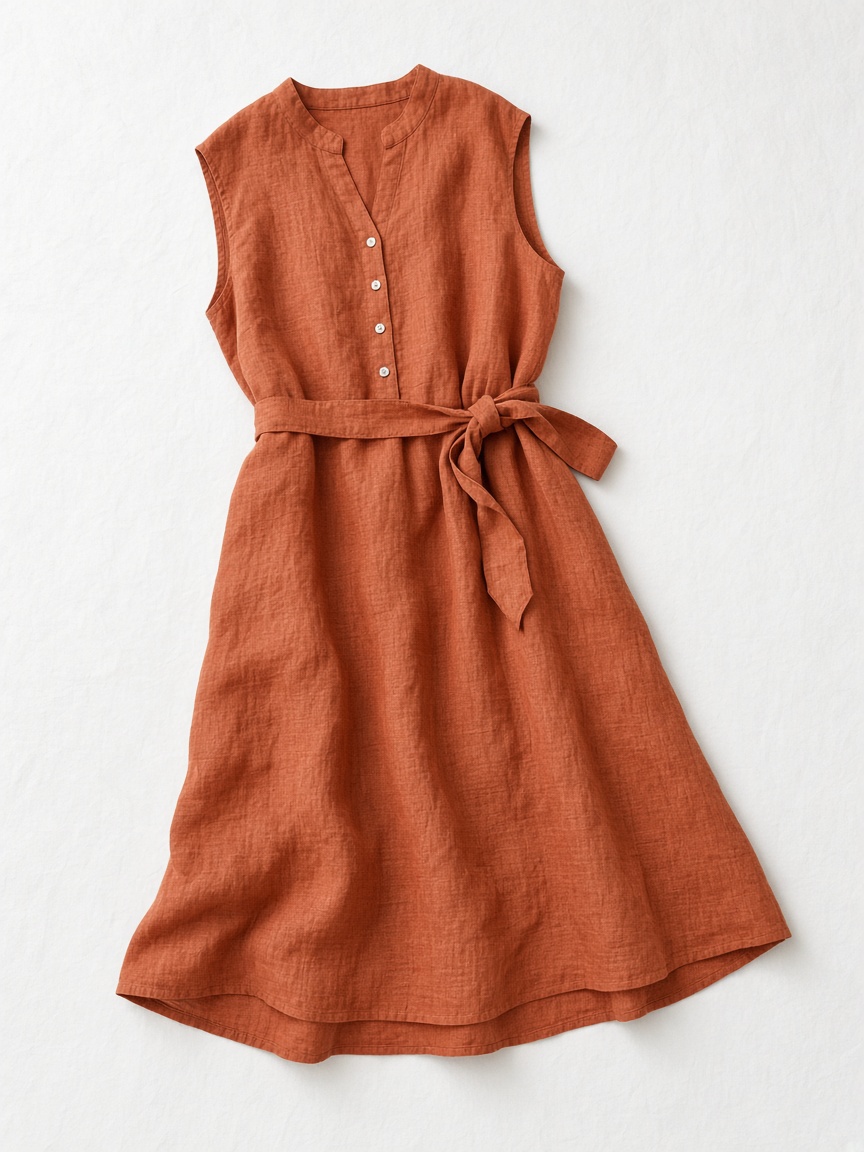
Start with the garment
Capture the full piece flat, edges in frame, minimal wrinkles. This becomes the source of truth.
Step 2
Pick the reference look
Choose a pose and crop you would actually publish. Close matches produce more usable results.
Step 3
Generate and shortlist
Review outputs for color, proportion, and whether the garment still reads as the real SKU.
Now showing
Start with the garment
Source garment
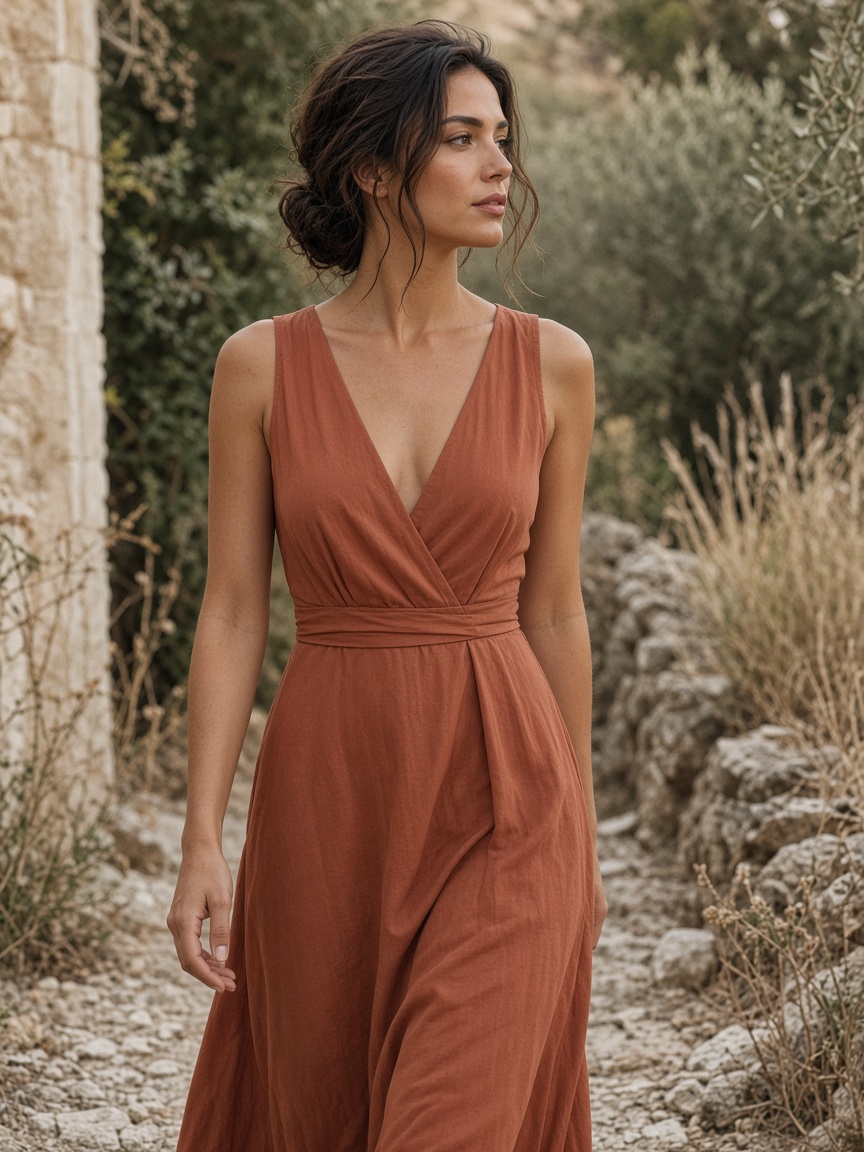
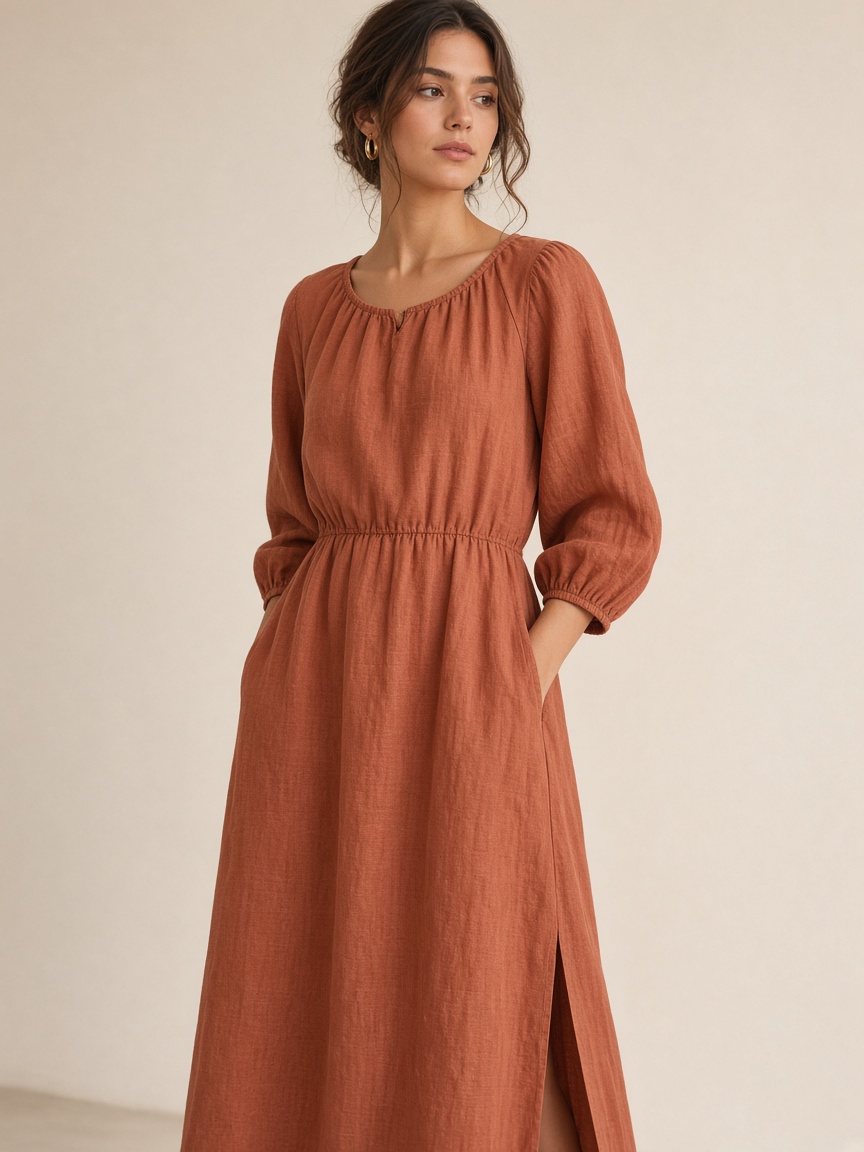
What “good enough for listing” often looks like
Photo tips that improve results
Avoid heavy shadows that hide seams and necklines
Keep backgrounds plain so the garment is the subject
Shoot the full hem and sleeves—cropped garments confuse the model
If color accuracy matters for returns, check white balance before generating
When this workflow is the right tool
Use it for catalog gaps, seasonal refreshes, marketplace listings, and creative tests where speed matters. Keep a traditional shoot for hero campaigns, complex styling, or when you need absolute control over every prop and set detail.
Next step
Open the studio with one SKU and one reference: Generate a look. If you are comparing options first, read Trendzy Look vs a traditional photoshoot.
Run your first reference look
Upload a garment photo and generate an on-model candidate in the studio.
Trendzy Look studio
Turn garment photos into on-model listing images
Upload a product shot, pick a reference look, and generate catalog-ready visuals without a shoot day.
Generate a look